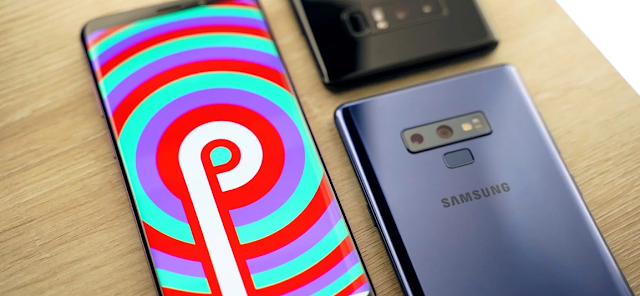
How To Root Android Pie On Samsung Using Magisk
Magisk is one of the popular and very useful rooting method that all the Android root lovers struggle to have on their devices. Unlikely other rooting methods, Magisk allows users to use banking and financial apps smoothly on their device while preserving root access. On the demand of specialists in financial and banking sectors, users are not allowed to run the banking and financial apps on rooted Android smartphones by the app developers. App developers use special tests like Google safety net to identify the root access on your device and it does not allow users to run the relevant apps on their devices. That is Magisk is more popular among the users.
Magisk Vs Other Rooting Tools
When Magisk is compared to other rooting tools, there are some specific features on Magisk. Here some them have been listed
- Available for free
- Works on Android 4.2+
- Bypasses Google SafetyNet and other integrity tests
- No need for a computer to install
- Magisk Manager is available to manage Magisk Framework
- Several methods to install
- Allows you to switch Magisk SU from SuperSU
How To Install Magisk
Generally, You can root Android smartphone installing Magisk by flashing it in TWRP recovery. But this normal method cannot be applied to Latest Samsung smartphones running on Android Pie or higher version. You need to follow a special method on your latest Samsung Galaxy smartphones to root it with Magisk
How To Install Magisk On Latest Samsung Smartphones
- First of all, make a full Nandroid backup of your Samsung smartphone
- Unlock the bootloader of your device
- Download the accurate firmware zip file for your device on y our computer
- Unzip the file and copy the AP tar file on to your device
- Install Magisk Manager on your device
- Now, go to the Install → Install → Select and Patch a File in Magisk Manager and select the AP tar file
- In here, Magisk Manager will patch your firmware file and will store in [Internal Storage]/Download/magisk_patched.tar
- Then, Copy the patched .tar file on to your computer
- Now, Download Odin in your computer and execute the program
- Boot your smartphone in "Download Mode" and connect to the computer
- Launch Odin and flash the magisk_patched.tar using "AP" button
- Make sure to uncheck the Autoreboot in Options
- After flashing is done Press Power + Volume Down and exit the Download Mode
- Then, press Power + Bixby + Volume Up to boot your device the recovery partition and continue pressing the volume up button until you see the stock recovery screen
- In the stock recovery menu >Select Wipe data/factory reset to wipe the data of the device
- Now, its time to boot your device with Magisk
- Select Reboot system now and immediately press Power + Bixby + Volume Up.
- Release all buttons After seeing the bootloader warning screen
- Finally, your device will reboot automatically and it will be a usual reboot
After rebooting, open Magisk Manager. It will update Magisk and reboot your device after asking you to do additional steps
Final Word
As Magisk patches, your device firmware does not try to restore it back to stock firmware which may brick your device. Also, do not ever flash stock AP file on your device since now you have installed patched firmware. You need to pre-patch the stock firmware before flashing. As a final piece of advice, you should better stay away from Magisk if you do not prefer full firmware patching.


Comments
Post a Comment